Create a mail-enabled security group
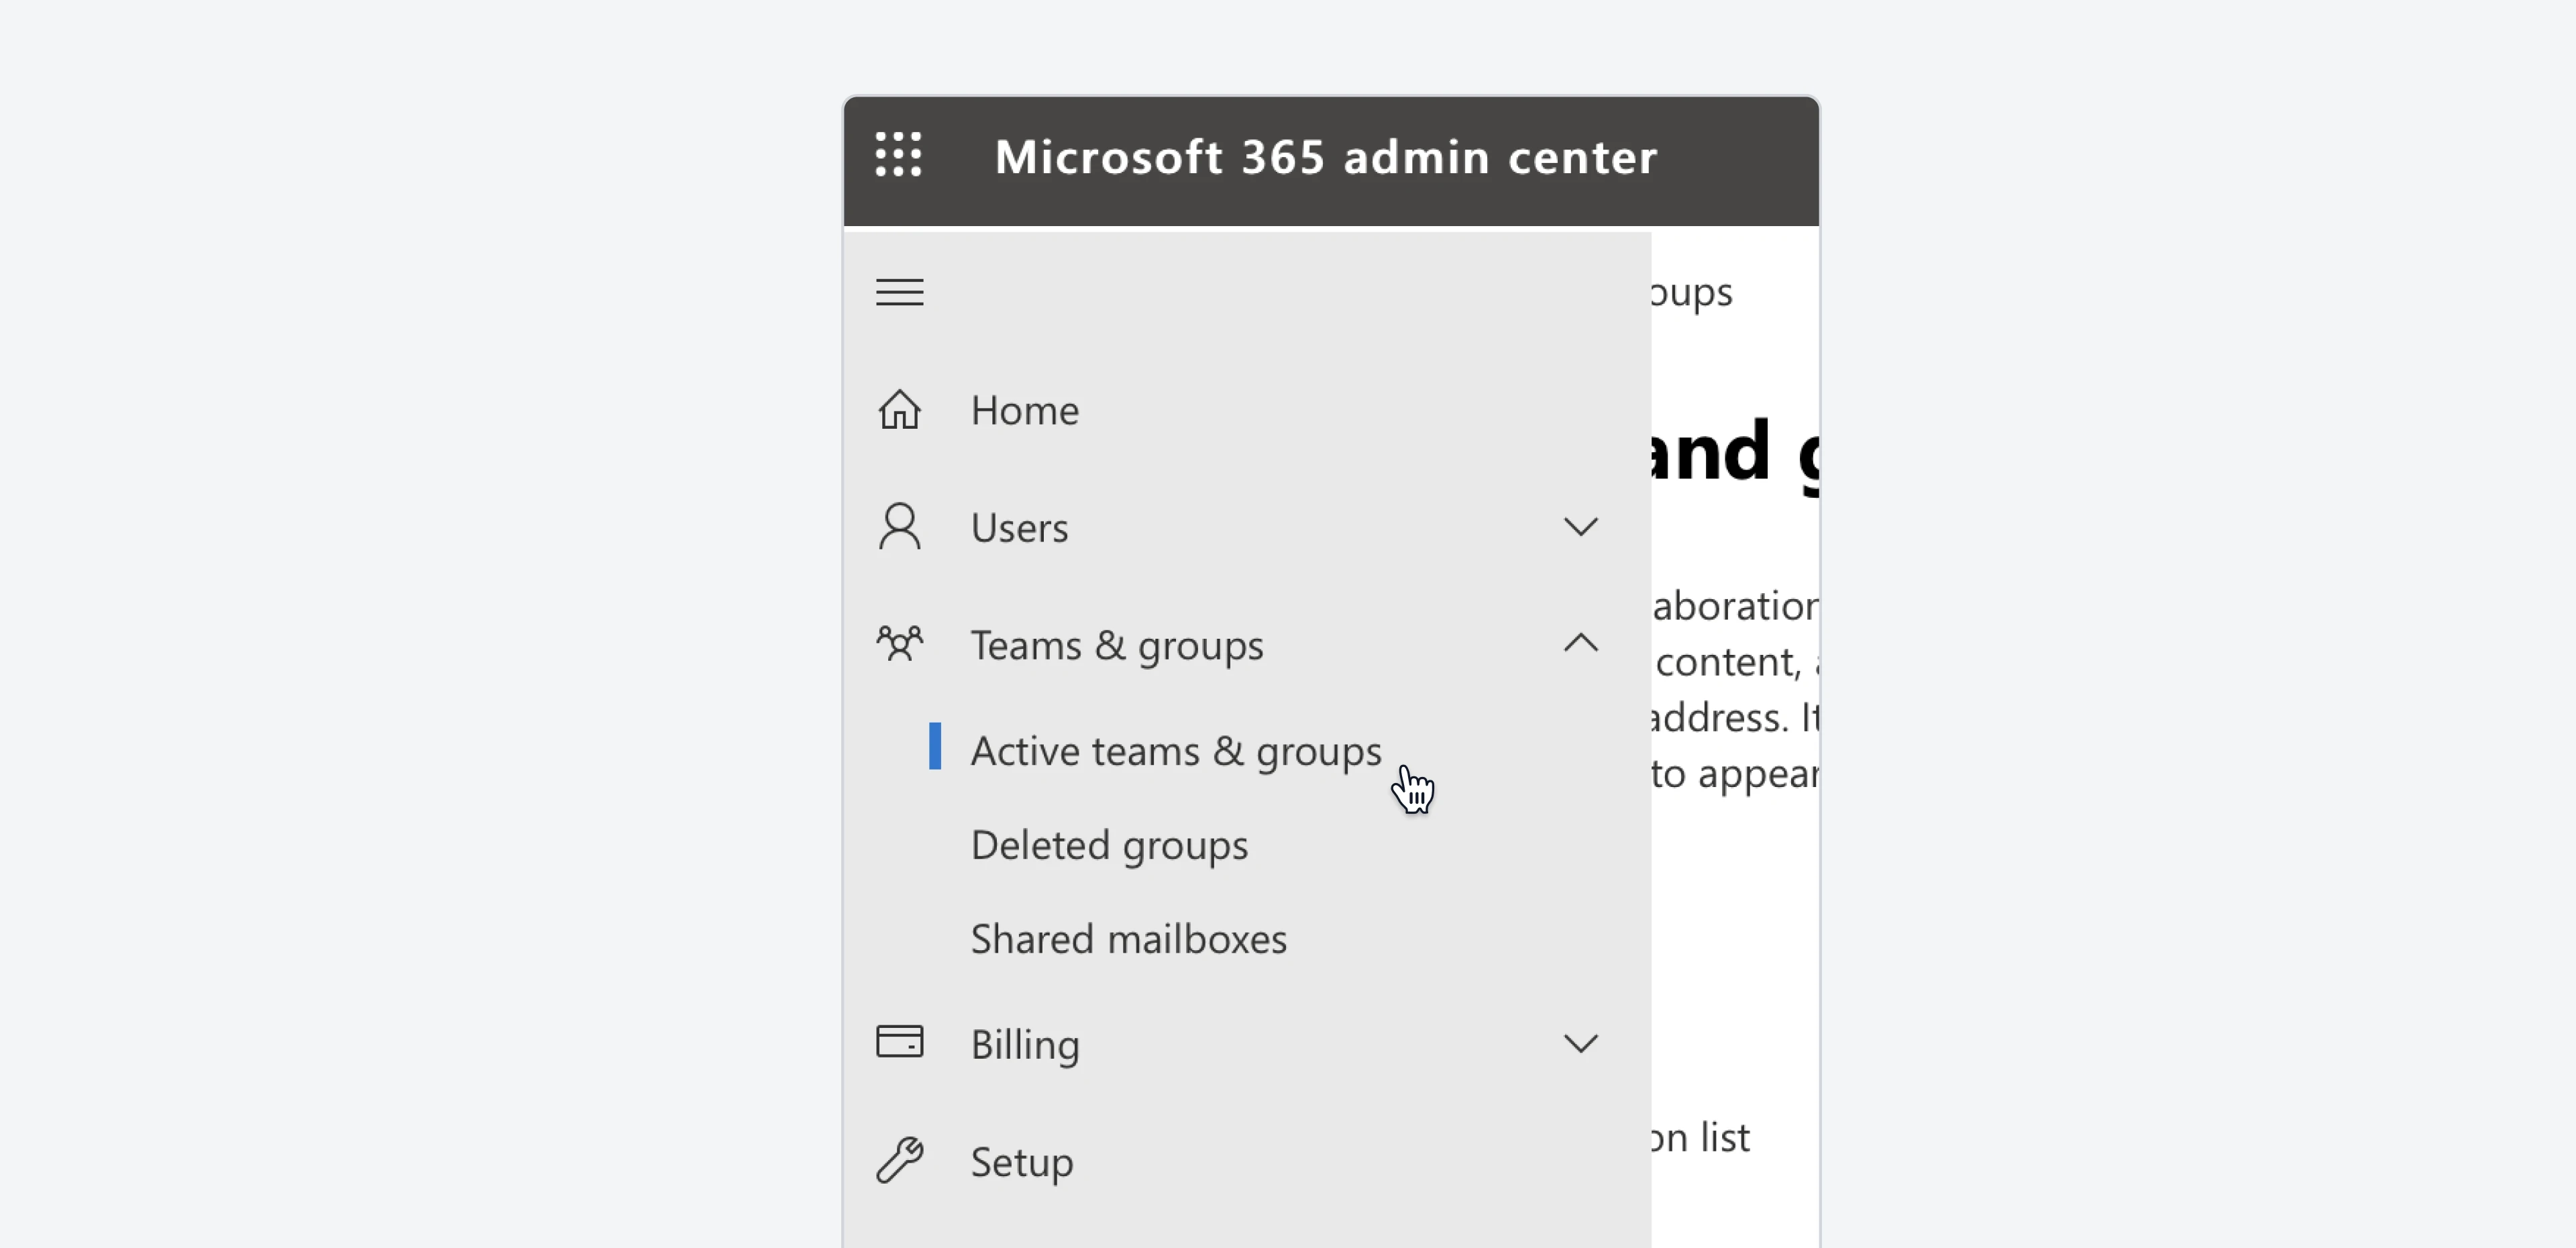
Log into your Microsoft 365 admin portal and click on Groups > Active. Choose Mail-enabled security on the secondary navigation menu.
 Click on Add a group to create a new group.
 On the following screen, select Mail-enabled security group. Then, select the name, owners and members that you desire.
 Once created, you can click into the just created Mail-enabled security group and click on “Members” to choose the members that you want to add to the security group. Those will be the only mailboxes that Email Meter will be able to get data from.

Create an ApplicationAccessPolicy
Now you’ll need to create an ApplicationAccessPolicy to limit Email Meter’s access to the specific mailboxes you’ve added to the Mail-enabled security group.For detailed instructions on connecting to Exchange Online PowerShell, please read Microsoft’s documentation here
Test the restriction
Once this is done, you’ll be able to easily test that the policy is restricting access to the members in the Security Group by running a PowerShell command. Just replace the argument for Identity, and run the following command:Frequently asked questions
Do I need to grant access to everyone using Email Meter?
Do I need to grant access to everyone using Email Meter?
No, it’s not necessary to grant access to all users who access Email Meter. Email Meter requires access only to the mailboxes that are being tracked: this means that only the accounts for which you want to generate email statistics need to be granted access.